Local Storage seems to be disabled in your browser.
For the best experience on our site, be sure to turn on Local Storage in your browser.
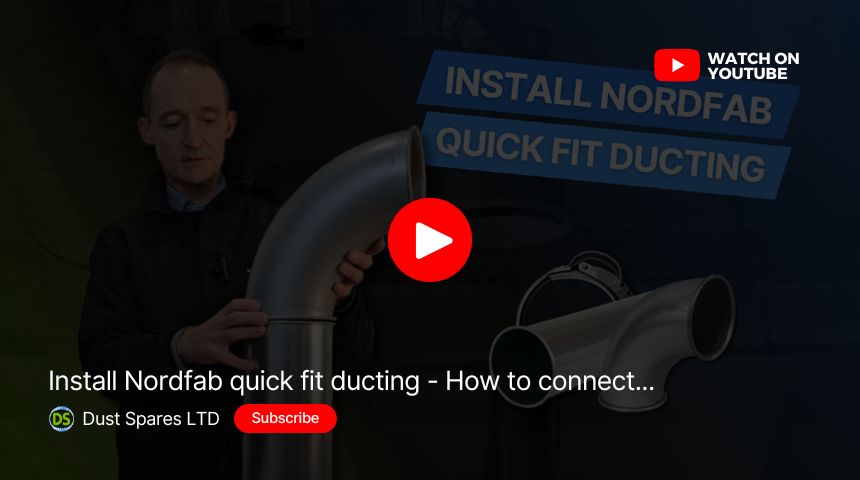
Video - How To: Assemble Cantilever Arm Bracket Kit

Video Transcript:
"Hi and thanks for joining me. For this video I will be explaining how the components of our cantilever arm bracket kit fit together.
Here we have the components - a cantilever arm, spilt clip, threaded rod, nuts, top plates, channel nuts and end caps.
First and foremost you need to decide where you need to fit this and then securely fix it with the appropriate fixings. Then we take the M10 rod and spin some nuts on about 15-20mm down each end. Next, take a top plate and slide that over with the arms facing up and a channel nut with the ridges facing towards the top plate. Spin this on, just do that the rod comes through the end.
Place that on the cantilever arm and loosely tighten so you can still slide it a long. Repeat this process for the other side - here is one we did earlier. Loosely tighten that, so you get a little bit of movement.
Next, take the bottom half of the split clip and place that over the rods. Once you are happy with the position you can tighten the nuts above the top plate to secure in to position, like so.
At this point you would put your spiral ducting into the split clip and place the top half of the split clip over it - putting a top nut on to secure it all in place on both sides. This kit also comes with an end cap and some nut caps to finish it all off nicely.
There we have the cantilever arm bracket kit assembled - thanks for watching and don't forget to like and share!"
Related Products
-
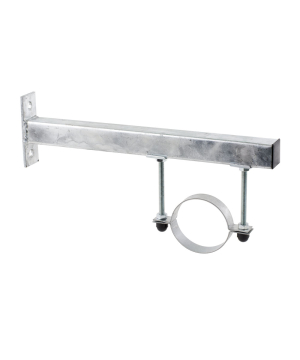 Cantilever Duct Bracket Kit
Starting at £27.12 £22.60
-
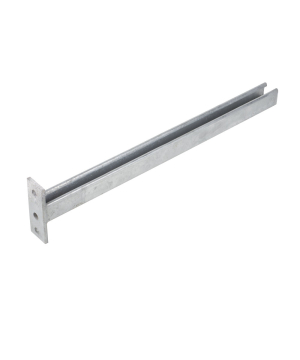 Cantilever Arm
Starting at £12.54 £10.45